 Hide Servos For a Cleaner Look
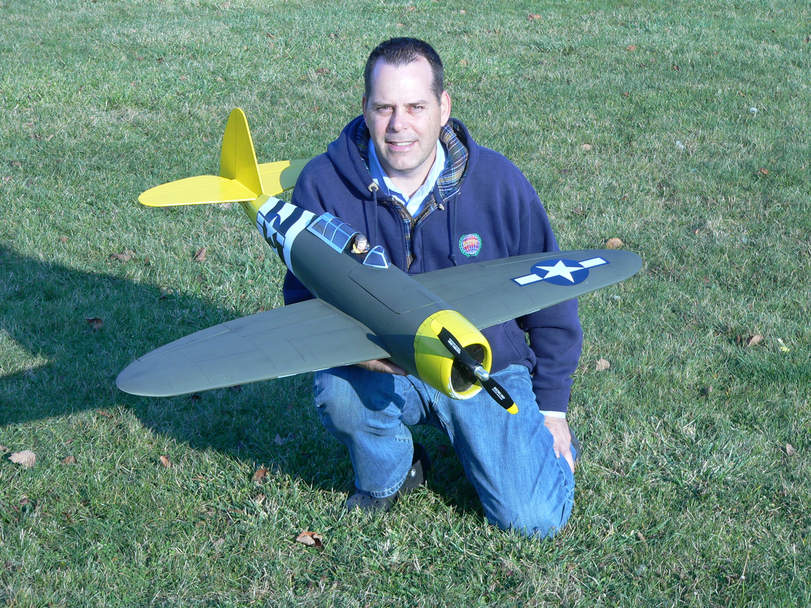
Final assembly on your radio control model airplane means details including a good way to Hide Servos. My DC-3 project isn’t really hiding the connecting rods from the servo to the control surface but it is hiding the actual servo and wiring. I learned this trick from an experienced model builder. It is a simple way to to offer a nice clean look. It really is a WIN/WIN to set your project up like this.
Four reasons why you should consider doing this with your models are:
- Hide Servos for a cleaner look – This is one of the best reasons to do this. It will make your plane stand out next to all of the others. All of your flying buddies will want to know how you did it.
- Hide Servos for Easy Access – Mishaps and repairs are all part of the hobby. With this system repairs are easy, fast and painless. If you strip a servo, replacement is a breeze.
- Hide Servos to protect Your Electronics – Moisture, debris and sudden impact can damage your expensive electronic equipment. Protecting it inside the model will save you money in the long run.
- Hide Servos for Better Aerodynamics – Less drag means faster, smoother flights. Your model will fly straighter because of better aerodynamics. Every little bit helps.
So, here are the simple steps to Hide Servos for your RC airplane.
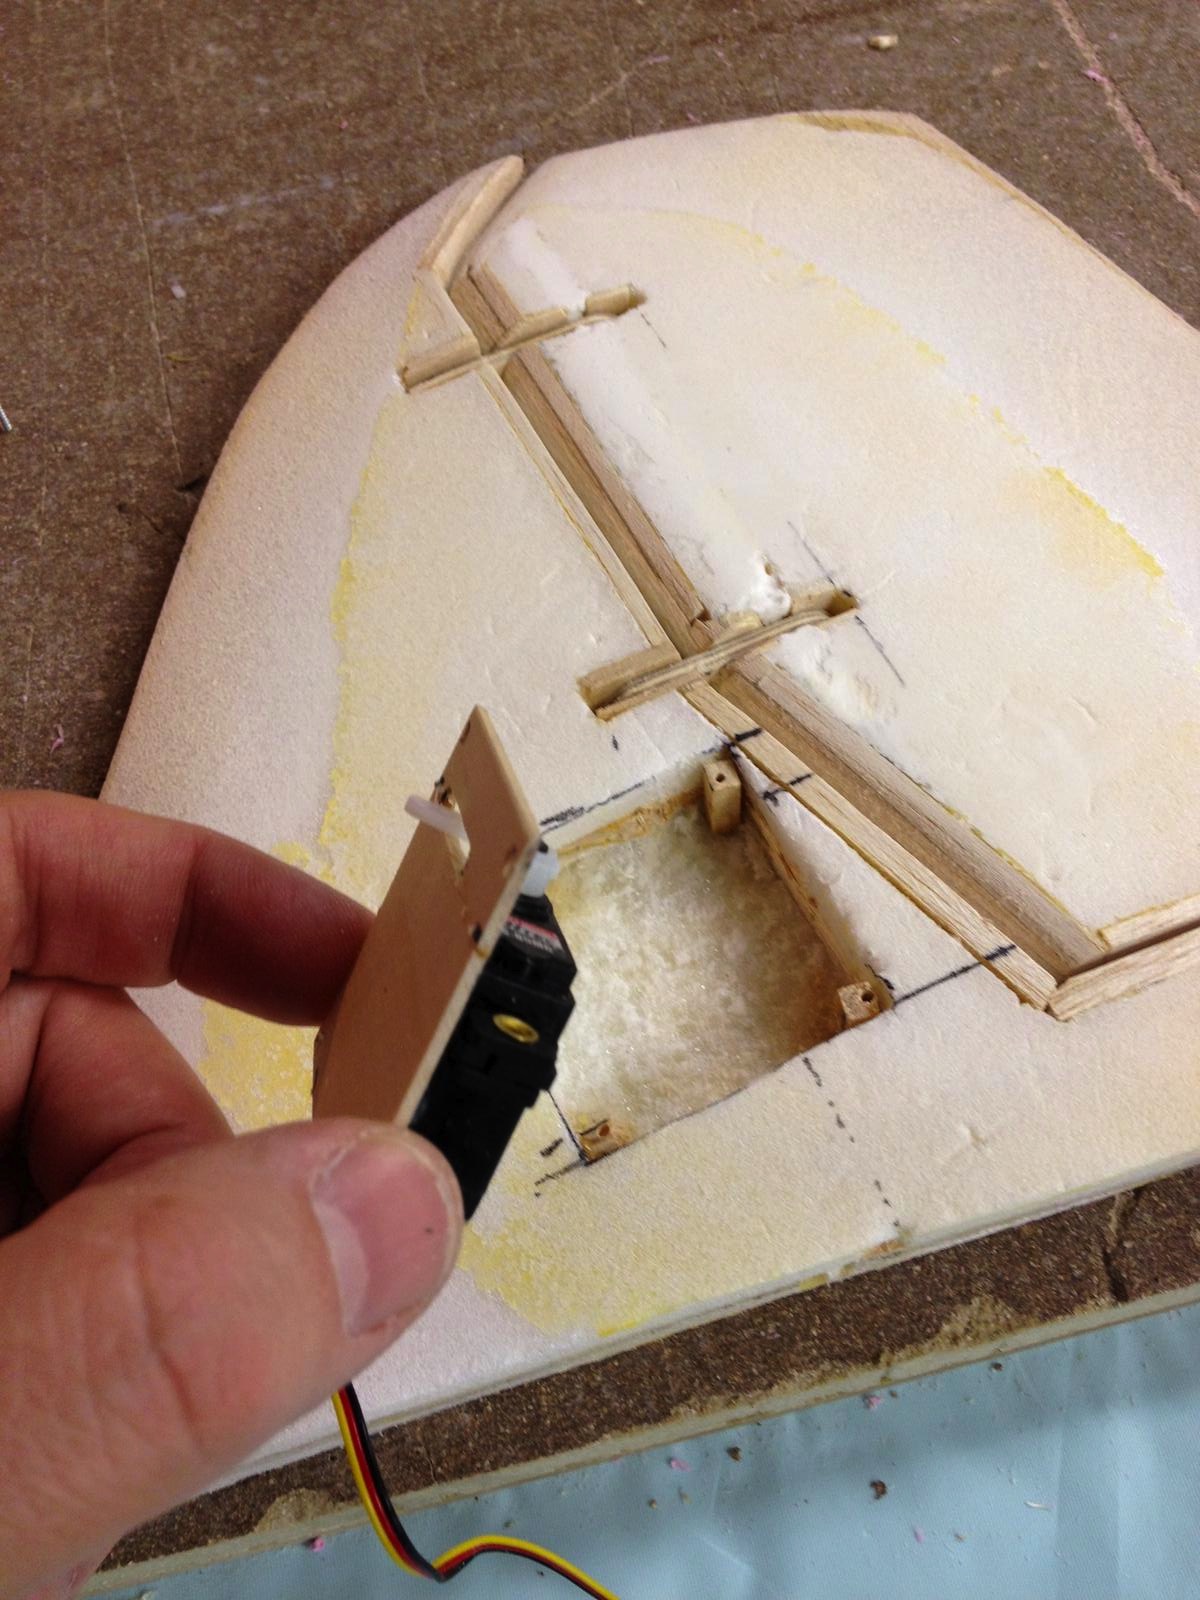
- Position the servo exactly where you need it on the underside of your wing.
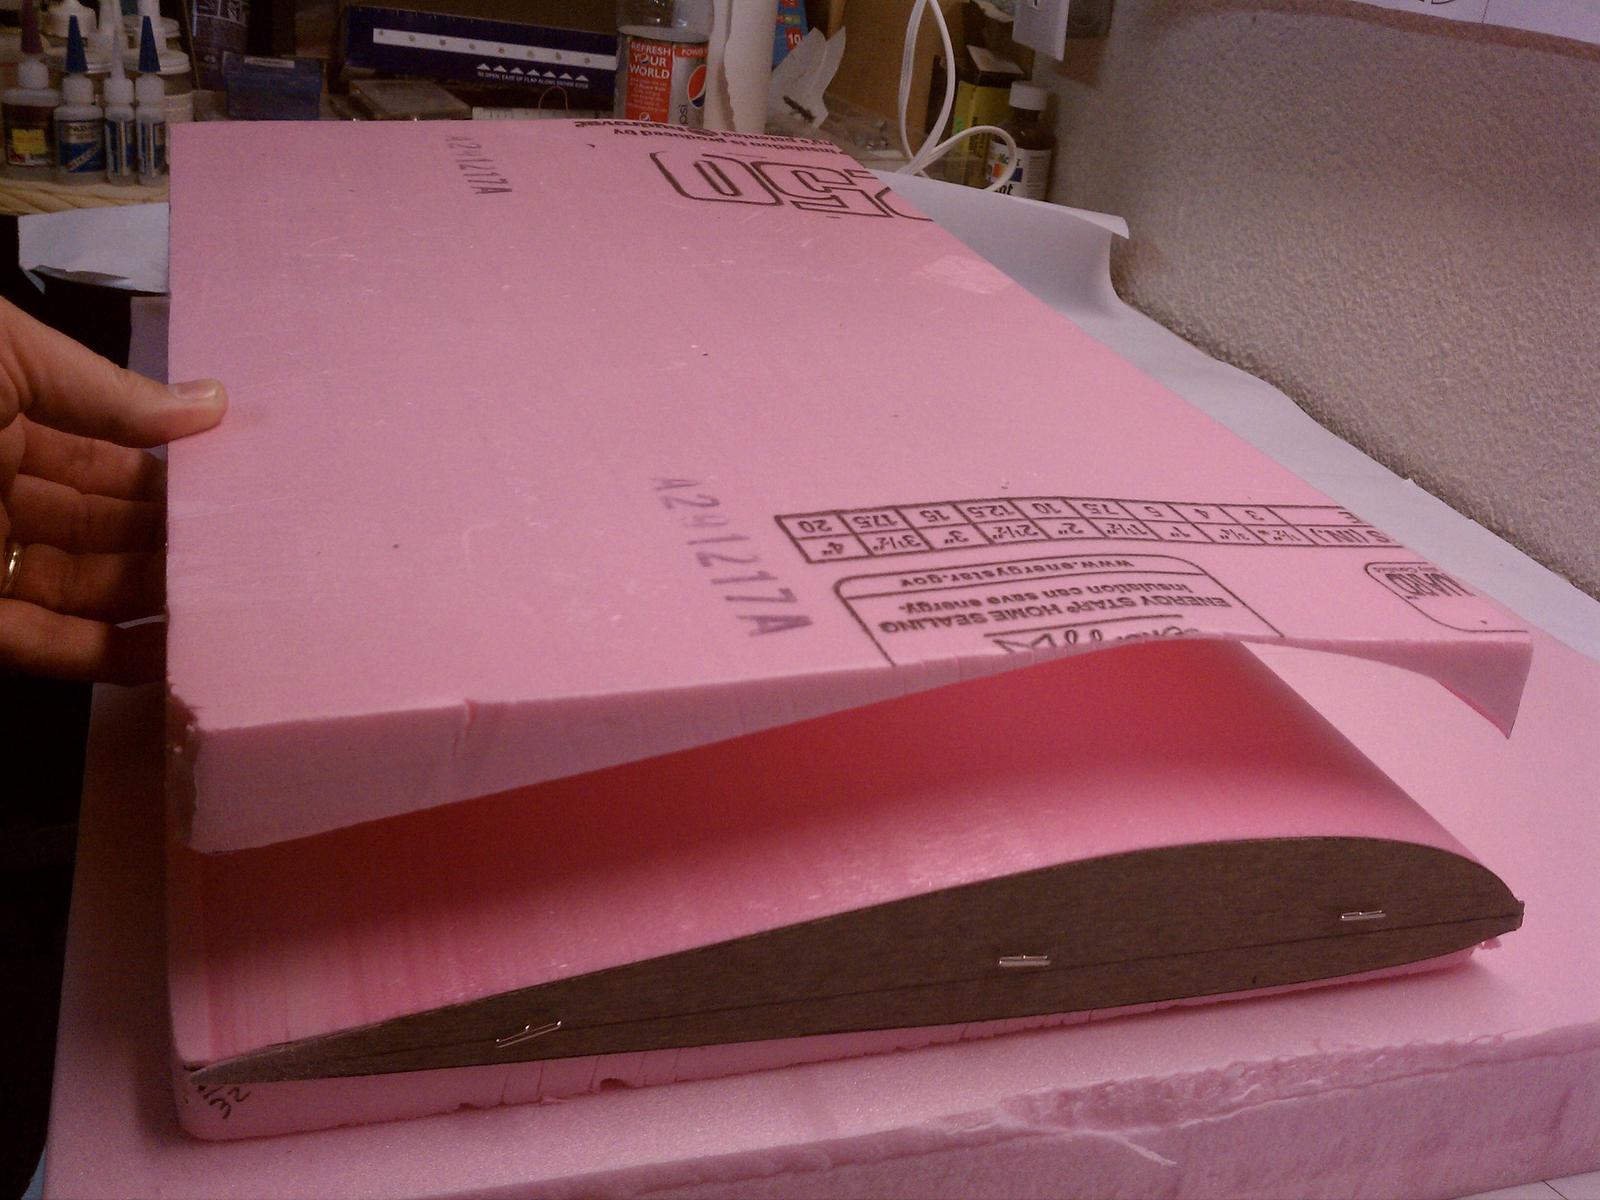
- Cut a box into the underside of your wing. Foam or balsa, it doesn’t matter. Create a box that will be large enough Hide Servos in the wing. Laying the servo on it’s side in the box you create will help you a pretty good idea how it will fit.
- Next, frame it up with some lightweight balsa. You are going to create a nice clean box so if you are cutting foam, be careful to trim and make a flat smooth line for your wall.
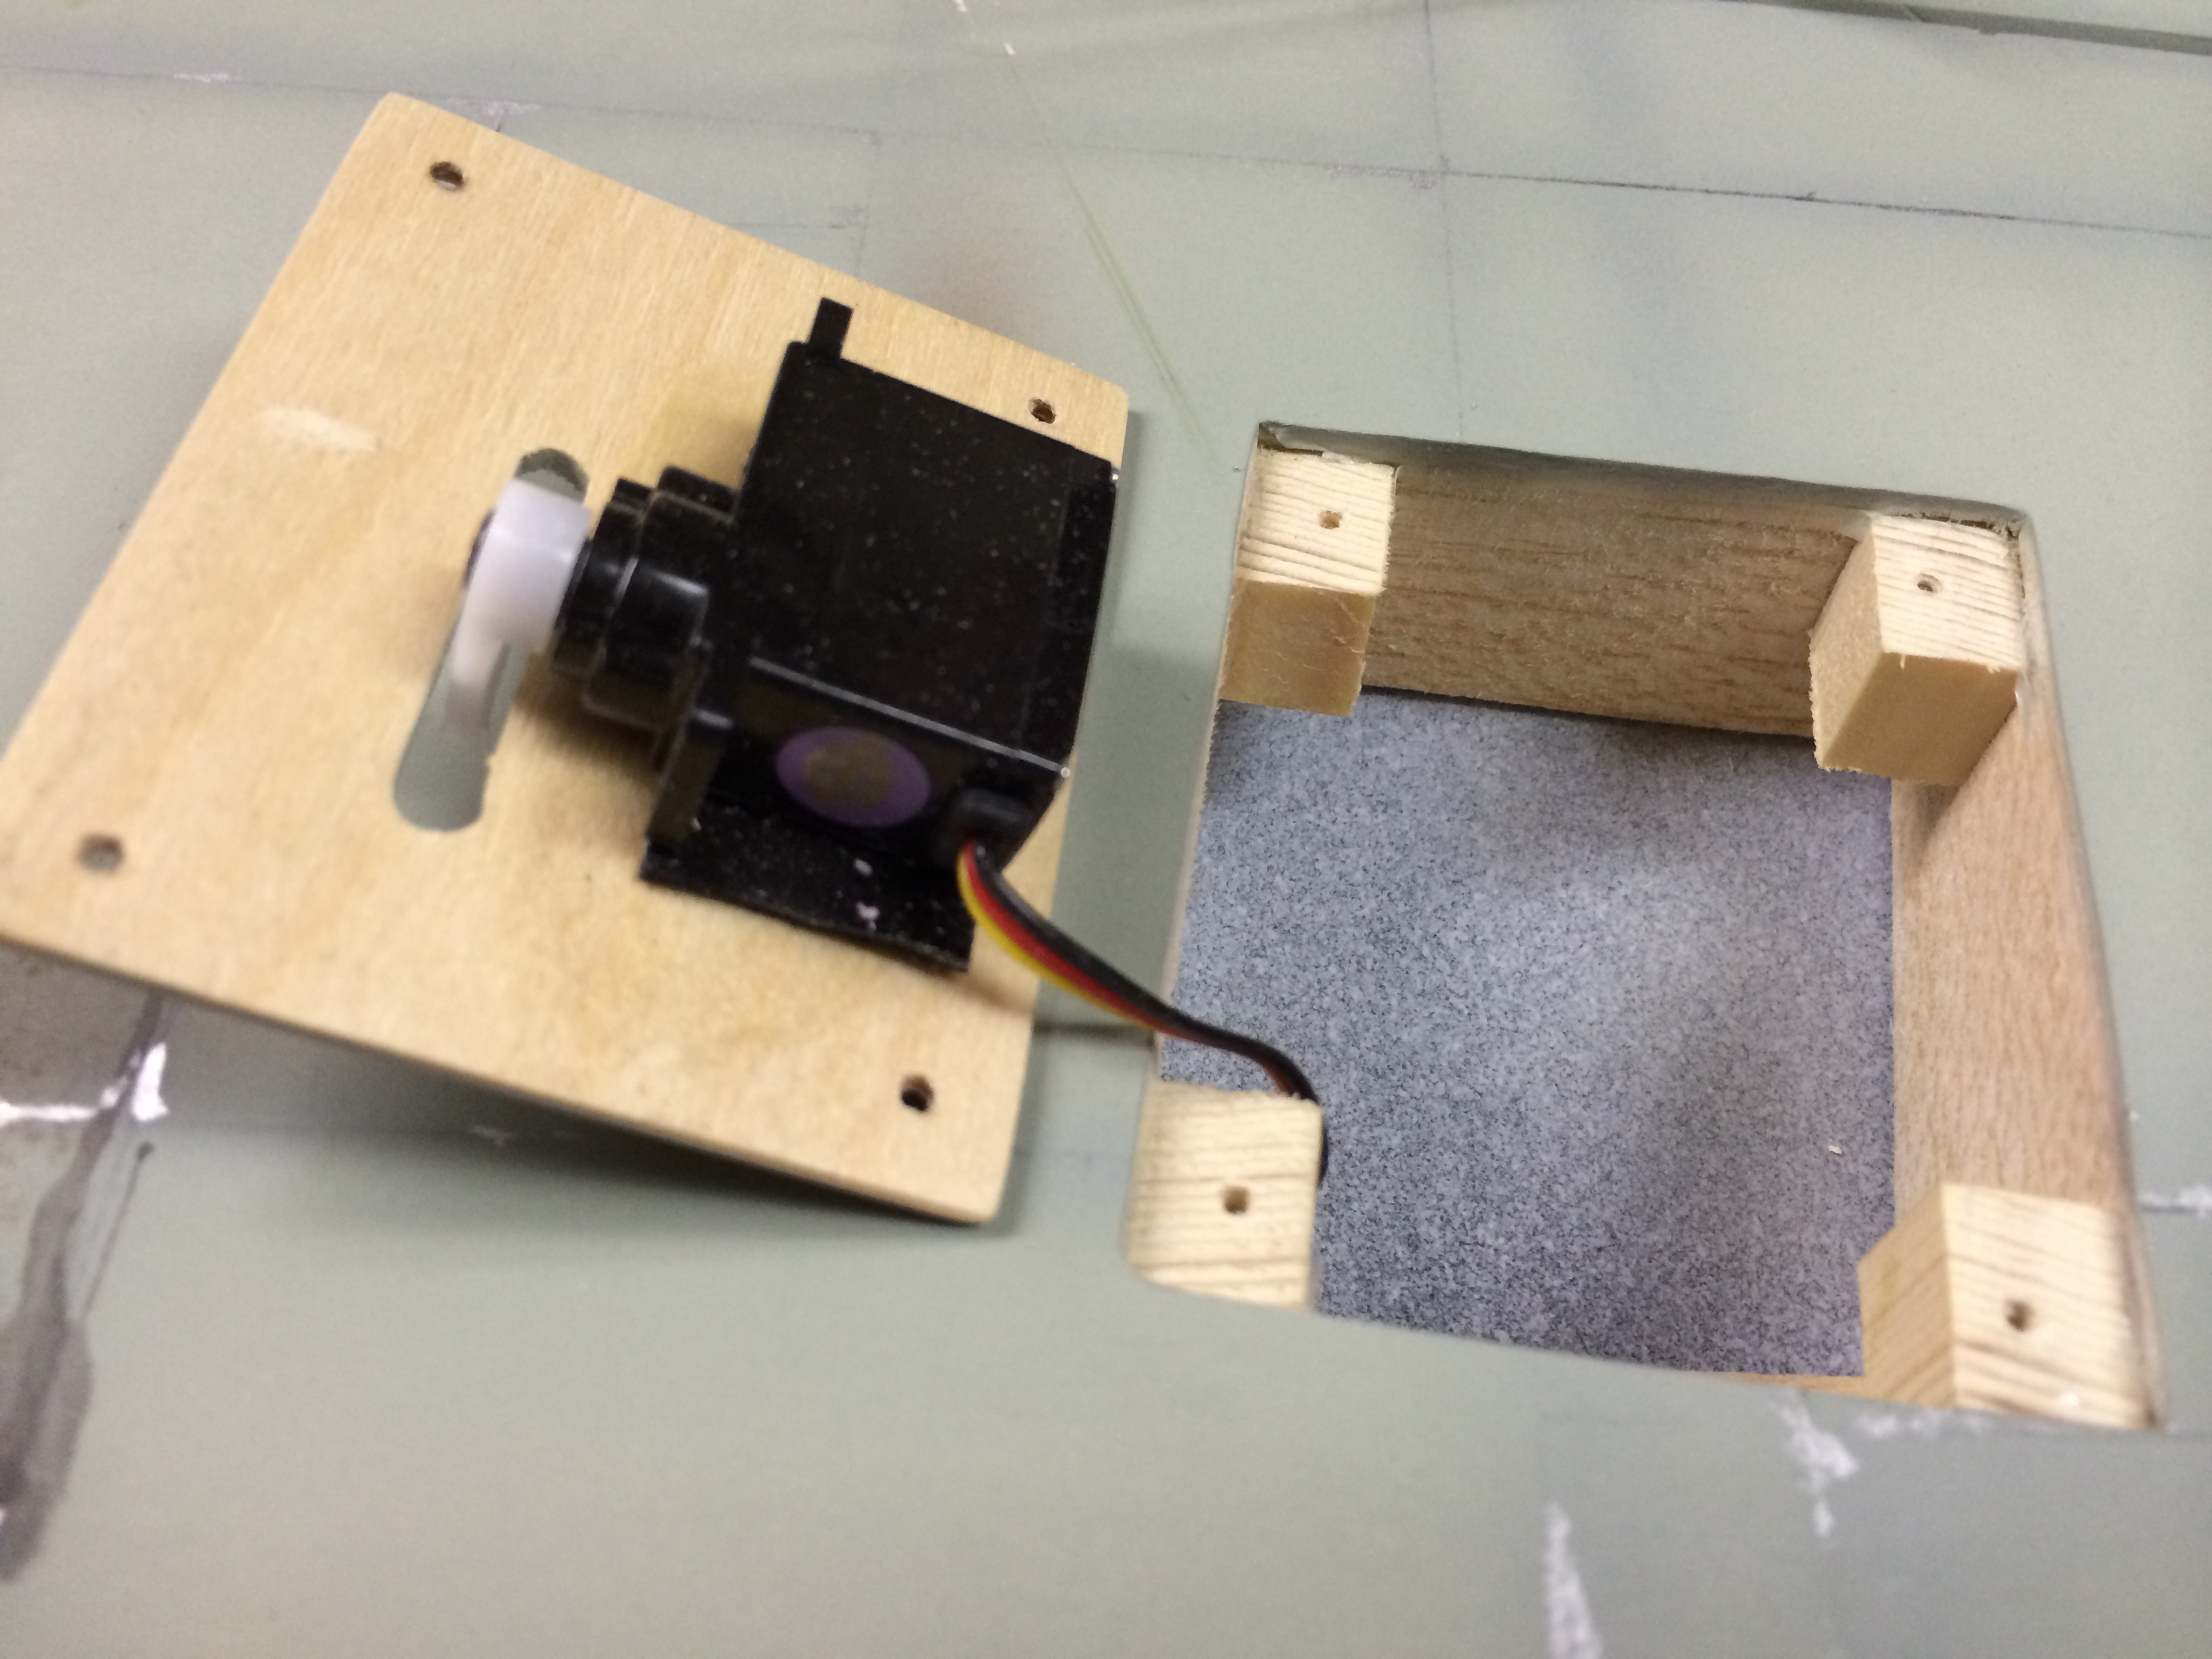
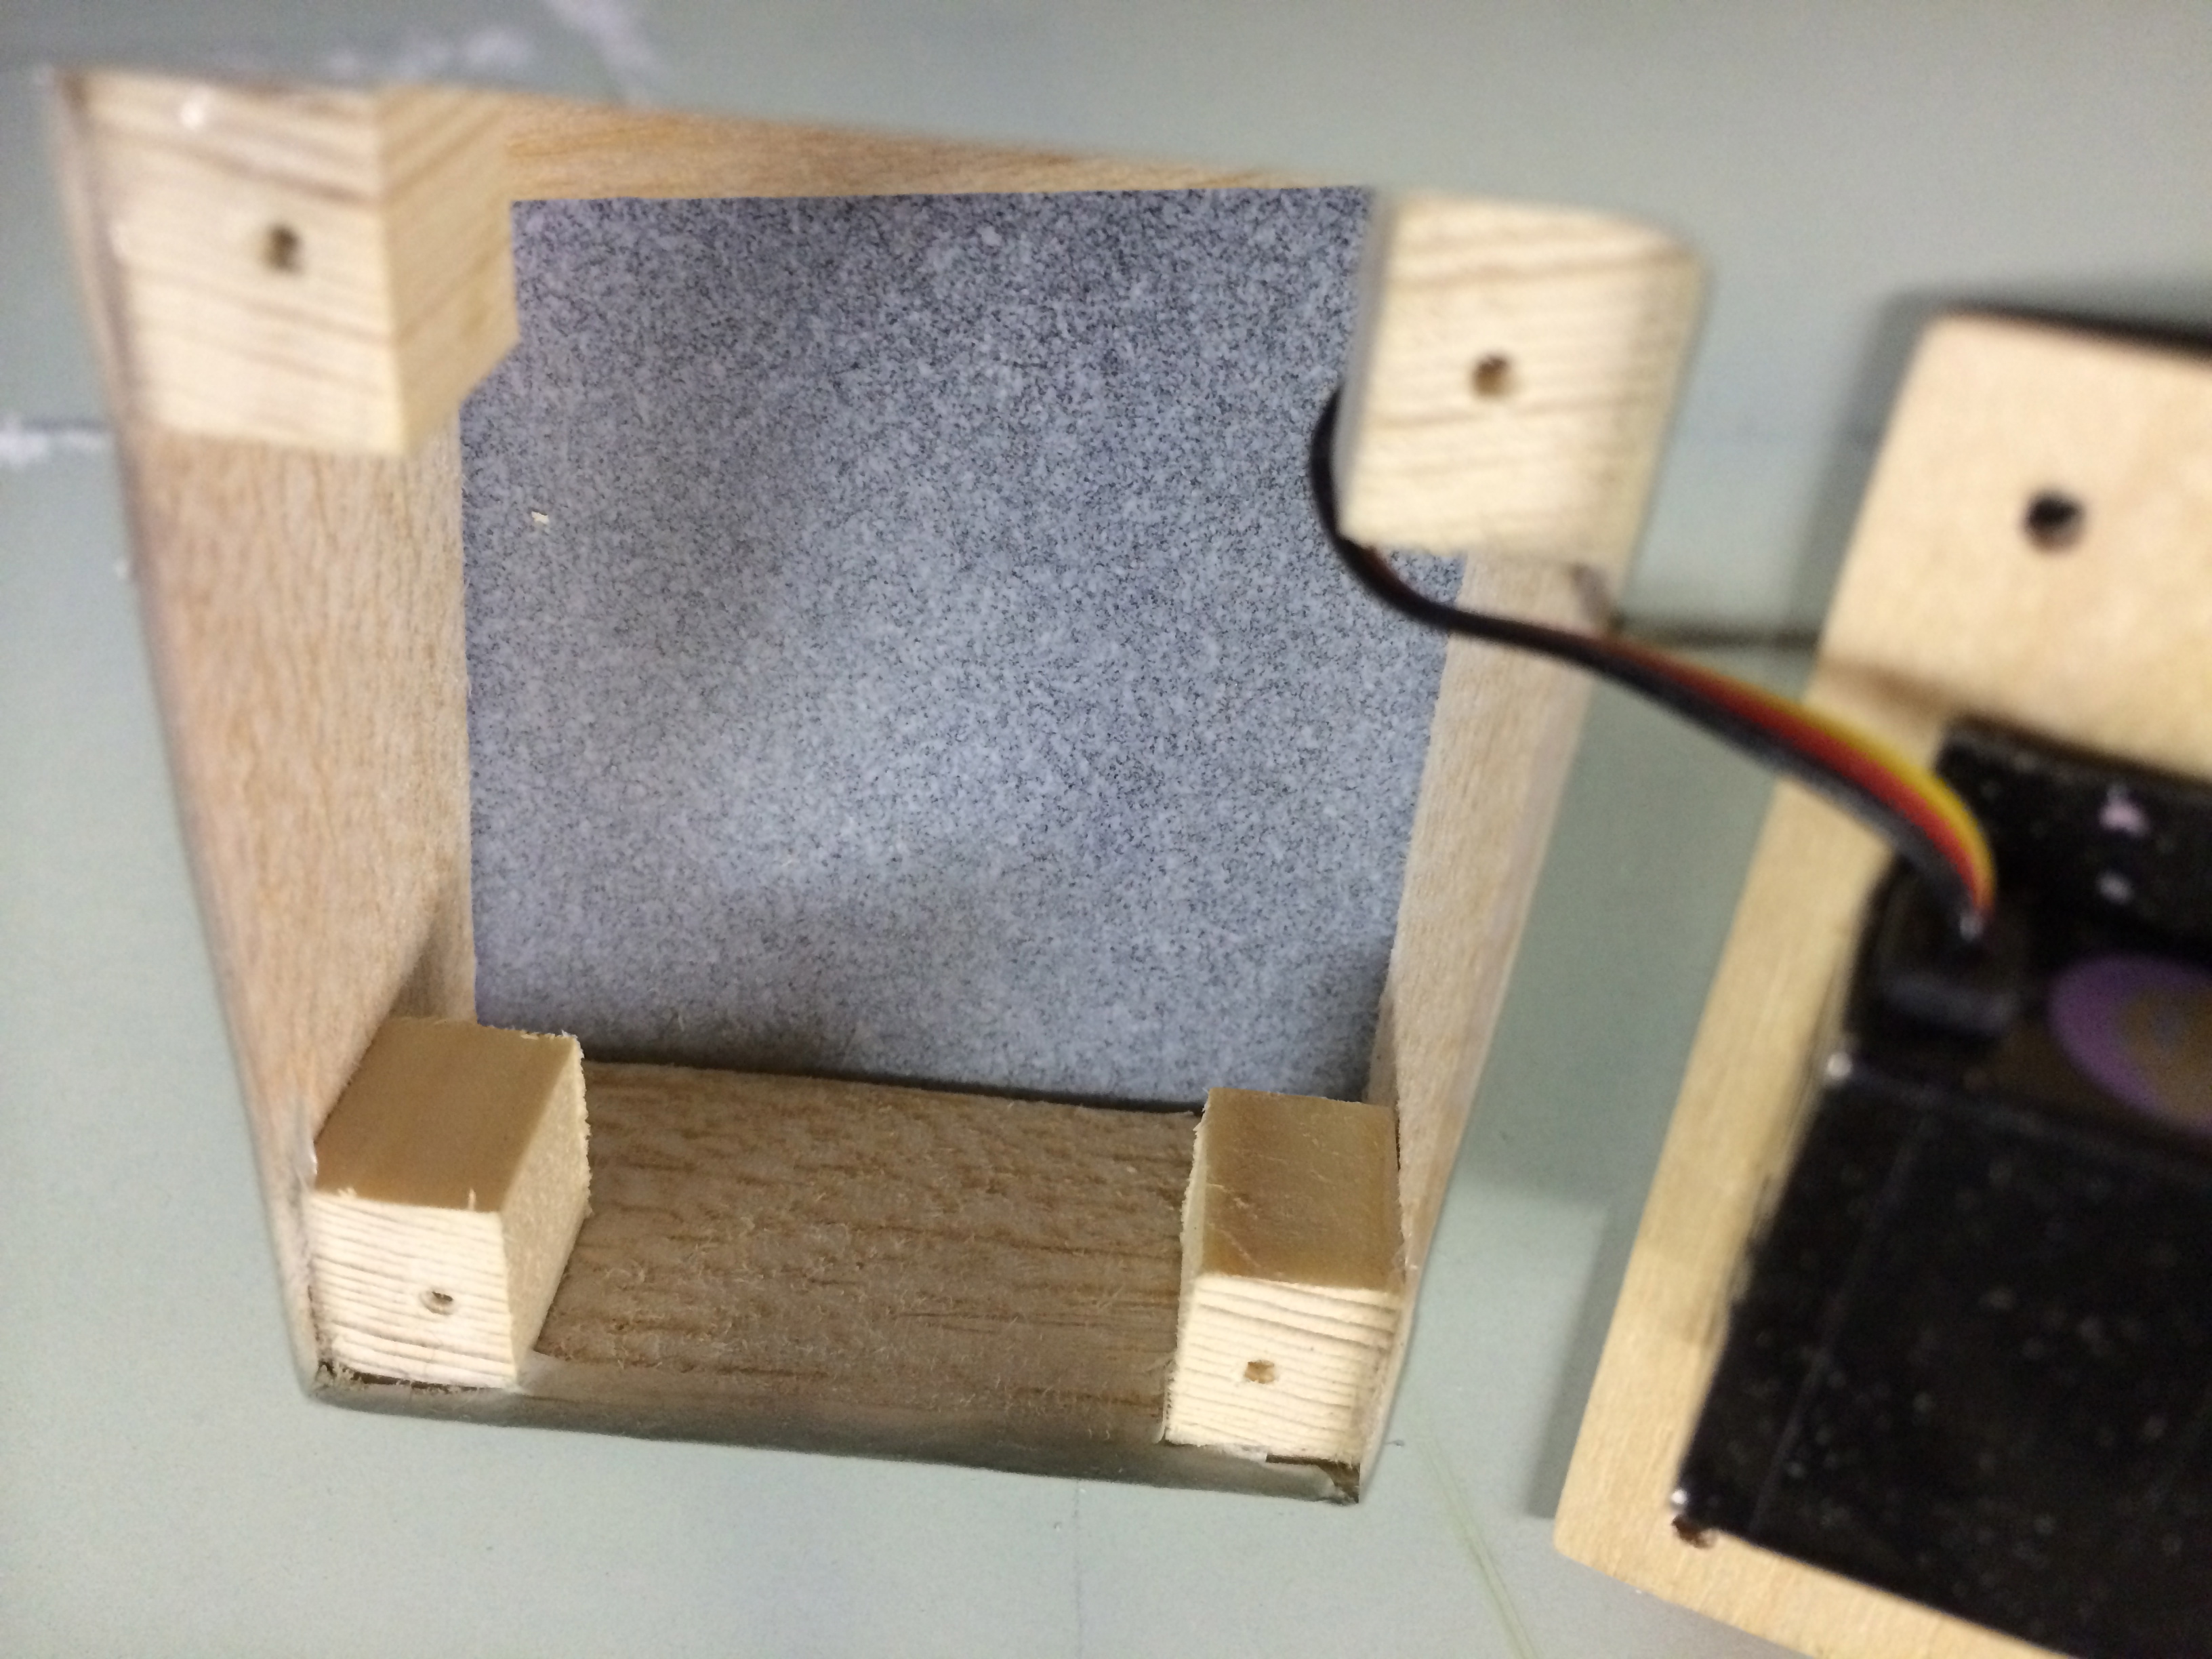
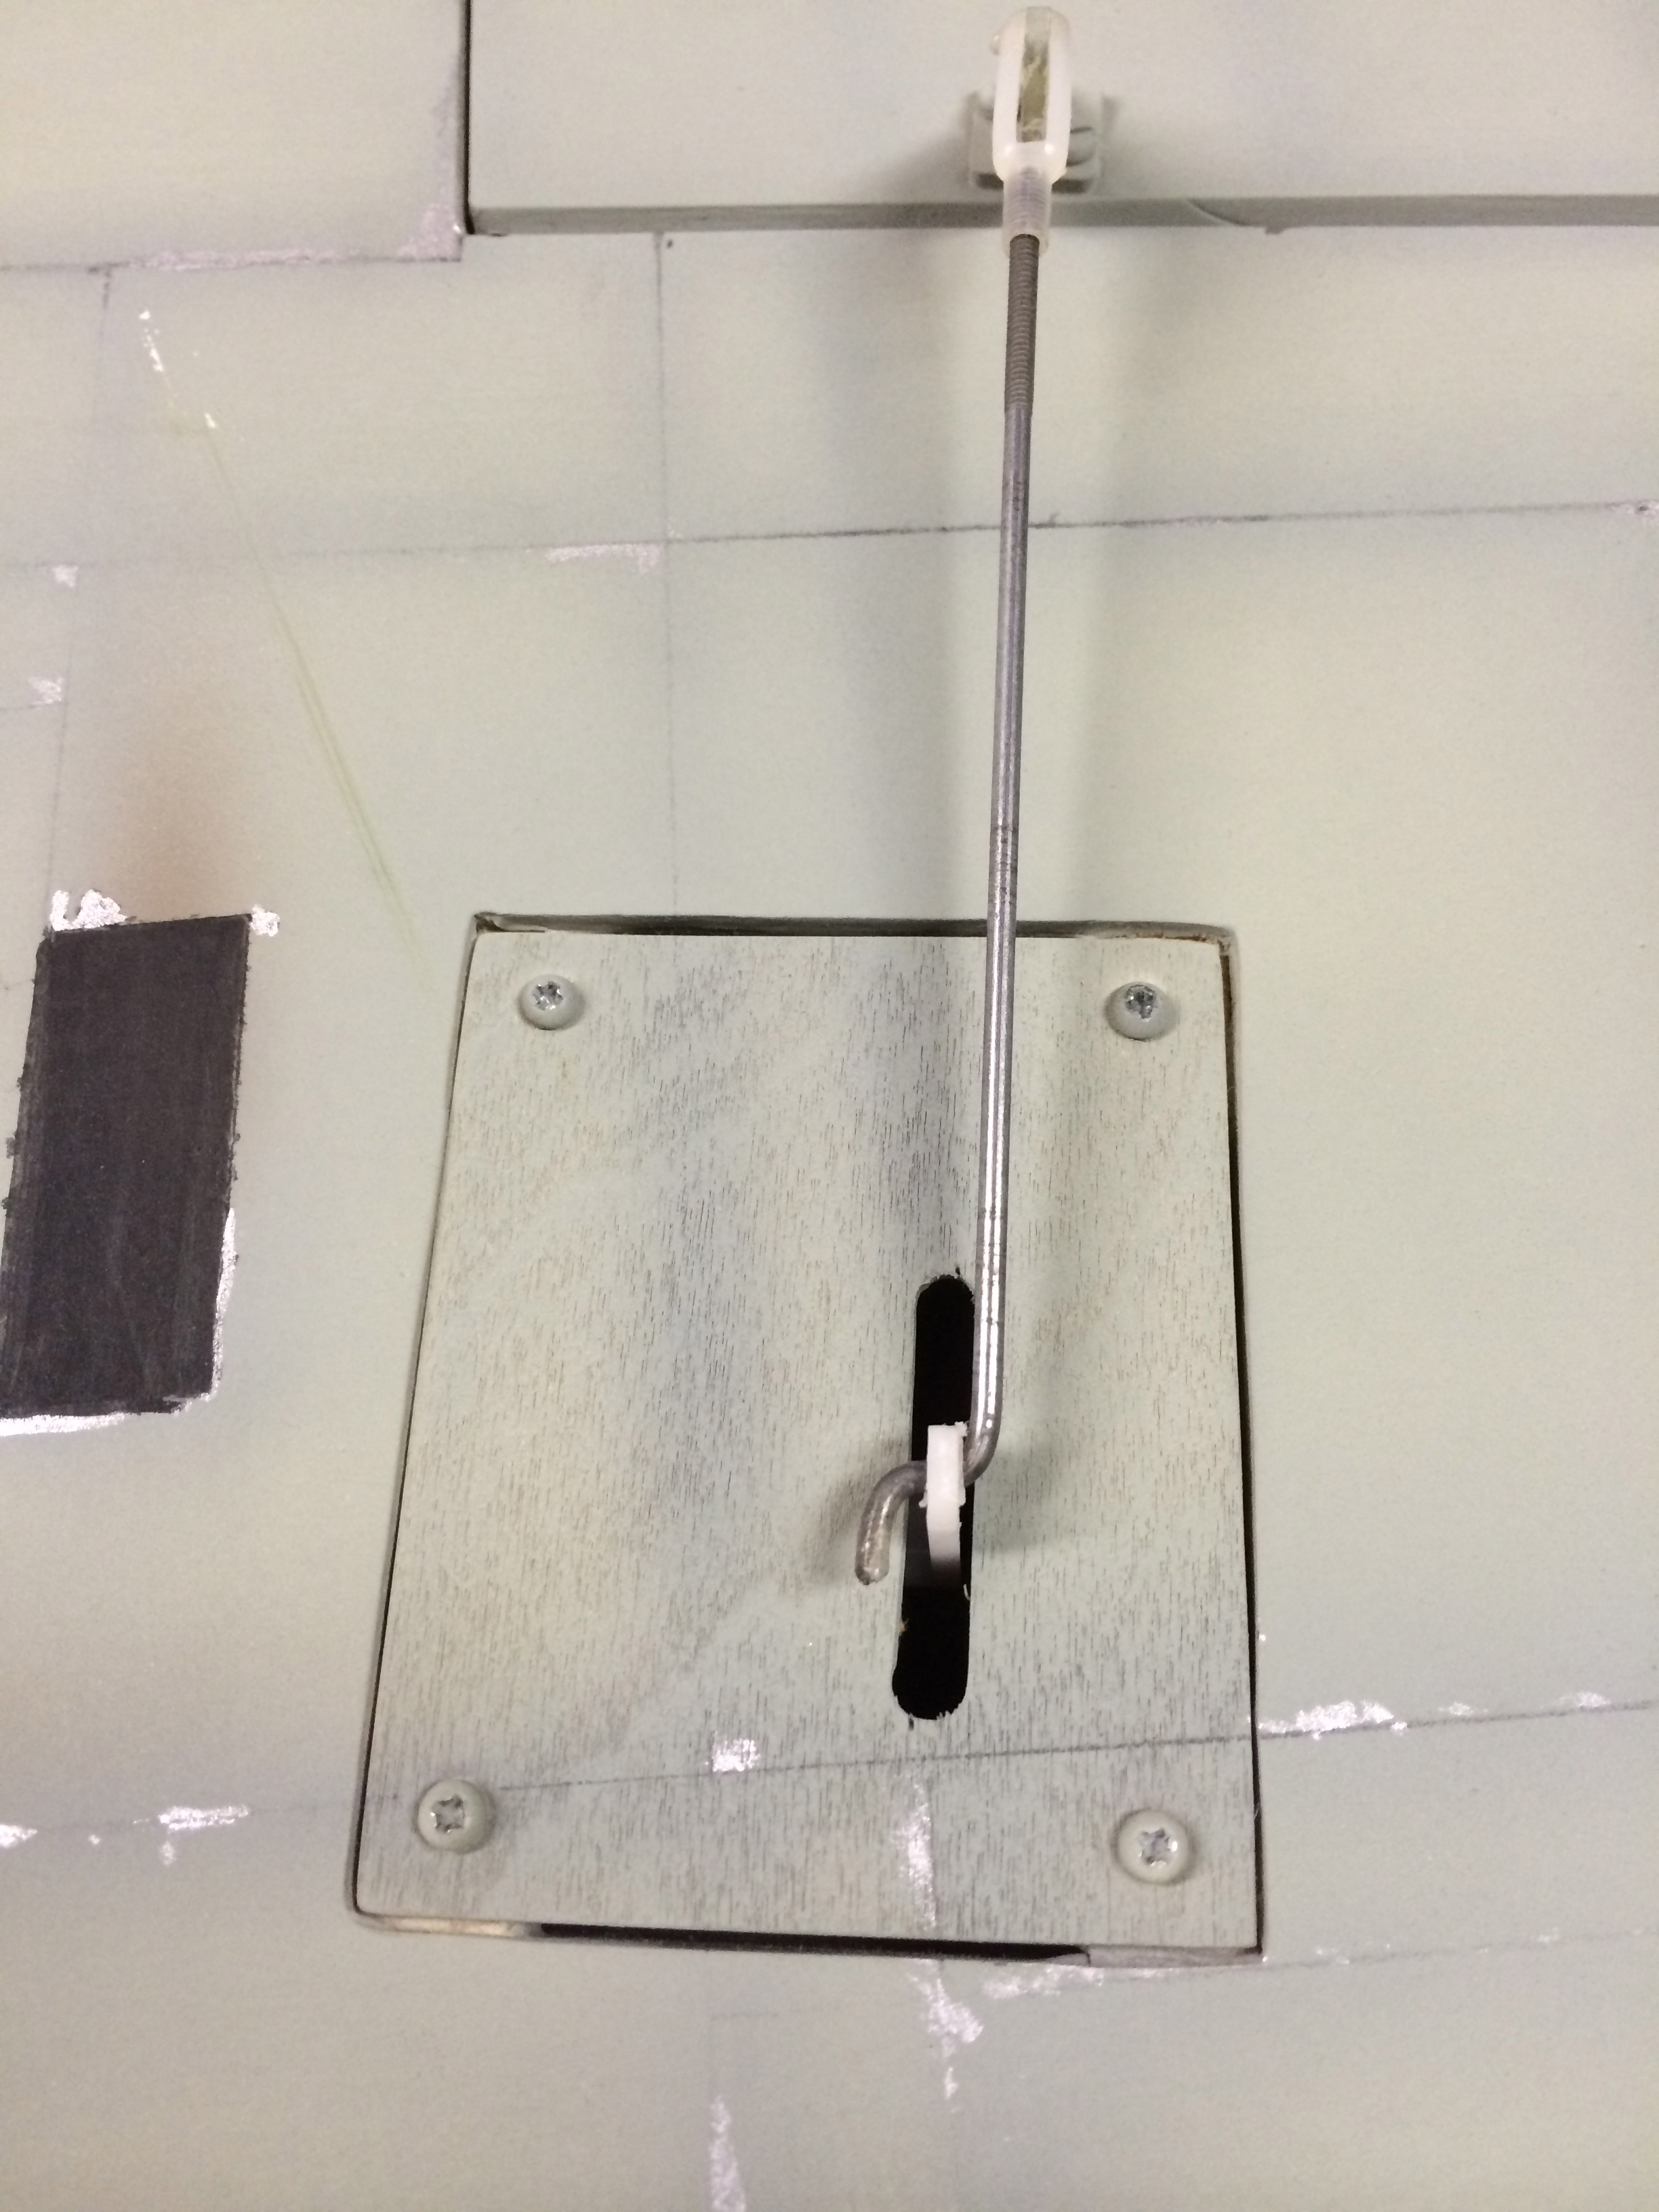
- Trace & fit your hatch. Your Hatch is going to lay and be screwed onto 4 hardwood blocks made from 3/8″ stick. If you are using 1/8″ ply for your hatch, be sure to use a 1/8″ piece of scrap you can lay on top of the hardwood stick to make it flush with your wing. Looking at the hatch opened up you can see how the hardwood blocks sit down a little from the wing. This is so the hatch can lay flush and Hide Servos. So, use some epoxy or CA glue to secure the blocks.
- Now trace out the hatch. Take a piece of paper and lay it over the hatch. Using a pencil, gently rub the side of the pencil back and forth over the edge of the box you cut. Follow the box all the way around so you have an outline of the hatch opening. Cut that out and trace the hatch onto the aircraft ply. Cut the ply, sand it smooth and test fit. Make any necessary adjustments using sandpaper.
- Make a channel for your servo arm. Lay your servo onto the hatch cover and position it exactly where you want. You should draw your servo arm opening on the inside of the hatch cover based on where you have positioned it. I make a 1/4 opening slot for the servo arm to move back and forth. Pay attention to the amount of throw the servo arm has so you know how long your servo arm channel needs to be.
- Secure your servo. Now, there are two techniques. Based on how much torque you plan to exert you can either use double-side sticky foam tape to secure the servo in place OR you can take a couple of hardwood stick pieces like we used in the servo box and glue them onto the hatch and screw the servo into those blocks.
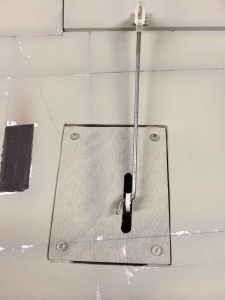
- Pre drill holes and secure hatch to Hide Servos. Finally, secure the hatch with 4 screws. Be sure to pre drill the holes to avoid splitting the hardwood blocks.