 After several months of waiting for my roaster, the Mill City 500 gram coffee roaster arrived via truck. I placed my order in May and the roaster arrived in September. It seemed like an eternity had passed while waiting for the roaster but it was well worth the wait. I had done my research before making an investment in the Mill City coffee roaster. My previous blog posts can attest to that. I compared all of the top roasters and picked this one. I want to use this post as my “First Impressions” of the 500-gram roaster. Later, I will even provide a video of my roaster in action.
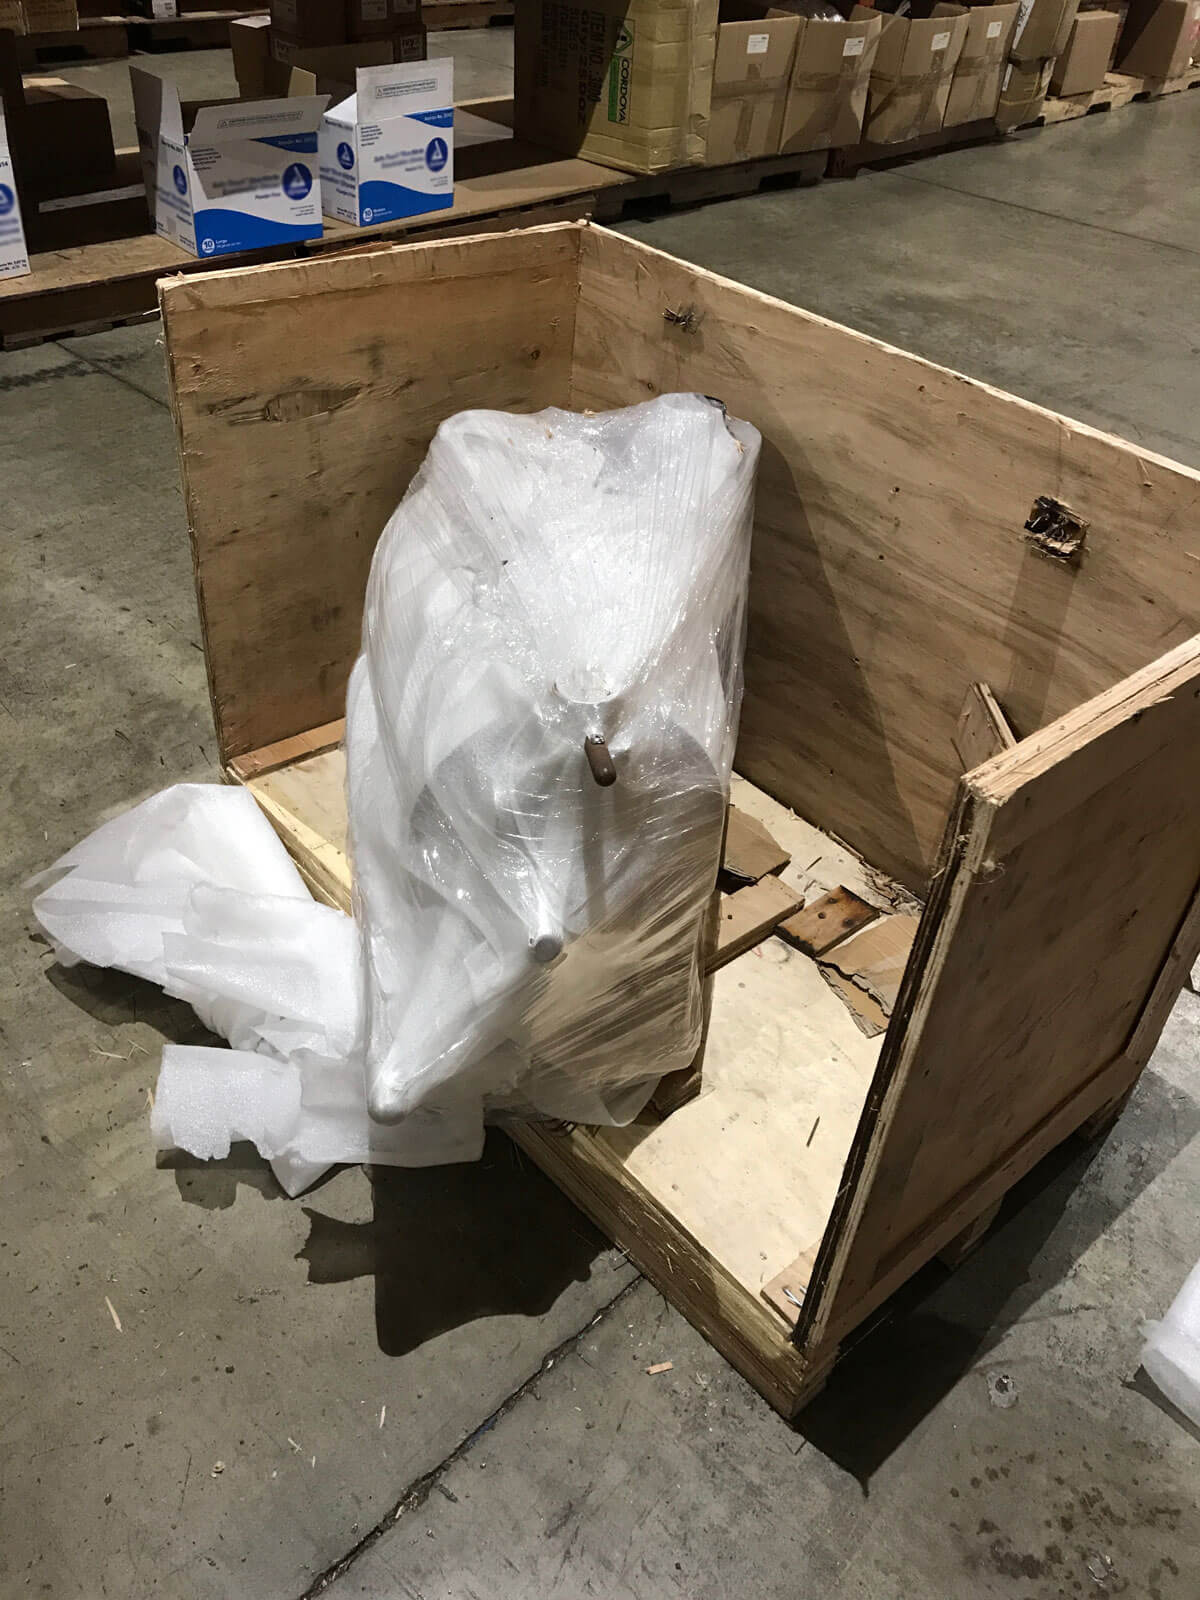
As promised, Mill City shipped the roaster in a secure wooden crate. It is the same crate shipped from China to the USA. Mill City Coffee Roasters inspected the machine at their Minneapolis, Minnesota offices and then shipped it to me via truck. Communication regarding my order status was pretty good. They have a web portal that allows you to monitor the manufacturing and shipping status of the coffee roaster.
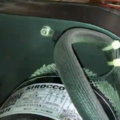
My Mill City 500 Gram Coffee Roaster was in a wood crate that was challenging to open. It was secured well so it couldn’t tip or be damaged during shipment. The roaster itself was wrapped in a padded cellulose wrap and then shrink-wrapped to hold everything together. It weighs a good 150 pounds and two people were necessary to move it safely.
Unwrapping the roaster was easy and parts like the cooling tray, hopper funnel, and step-down transformer were unpackaged and set aside until I was able to position the roaster. Remember, I am a home roaster so I was installing this roaster at home. I needed to prepare ventilation, electrical, the actual workspace and needed supplies in order to begin using the roaster. I won’t include those details in this post but I think it would be helpful for others to learn how they can prepare for the installation day.
This 500-gram roaster is designed and built just like a full-size commercial roaster. It is made of heavy gauge steel. It is heavy. It has two burners producing 10,000 BTU’s. That’s enough energy to easily heat a 250 square foot tiny house. While it might not seem like a lot, remember, it is a coffee roaster, not a furnace! I decided to use a wireframe cart to hold the roaster & supplies. It is strong enough and portable if I need to move the roaster for any reason.
Propane or Natural Gas?
The roaster comes set up for propane and that is what I started with. There is a lot to talk about when it comes to your choice of LP or natural gas but that will be for a later post. Connecting the propane was easy and straightforward. I wanted to get started quickly and I had not tapped into my natural gas line because I wasn’t sure of my exact location for installation. Propane seemed the simplest option. By the way, I was able to roast about 80 or more roasts on a tank of propane. That includes all of the warm-up time too!
Problems
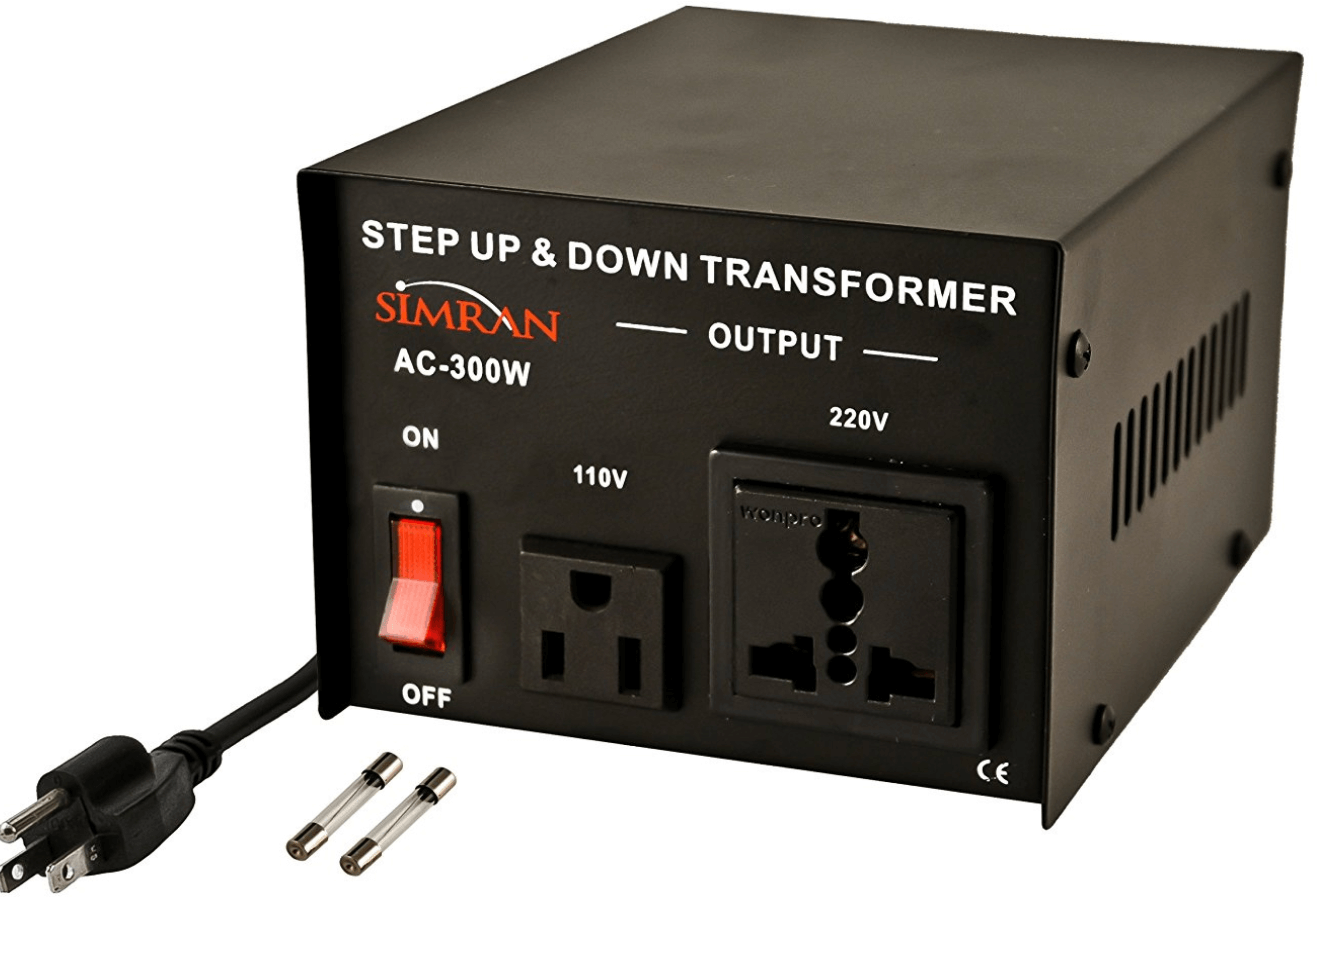 I experienced one quality problem with my roaster order and it wasn’t with the roaster itself. The step-down box provided with my order had a jammed switch and I was not able to power it on. This is the external power converter that comes with the roaster. Out of the box you can plug this roaster directly into a 220 plug or you can plug into the supplied step-down box and then plug the step-down into your 110 outlet. I placed a phone call to Mill City Roasters, told them my step-down box had a bad switch and they quickly sent a replacement with no questions asked. Chalk one up for good service.
Connecting Artisan
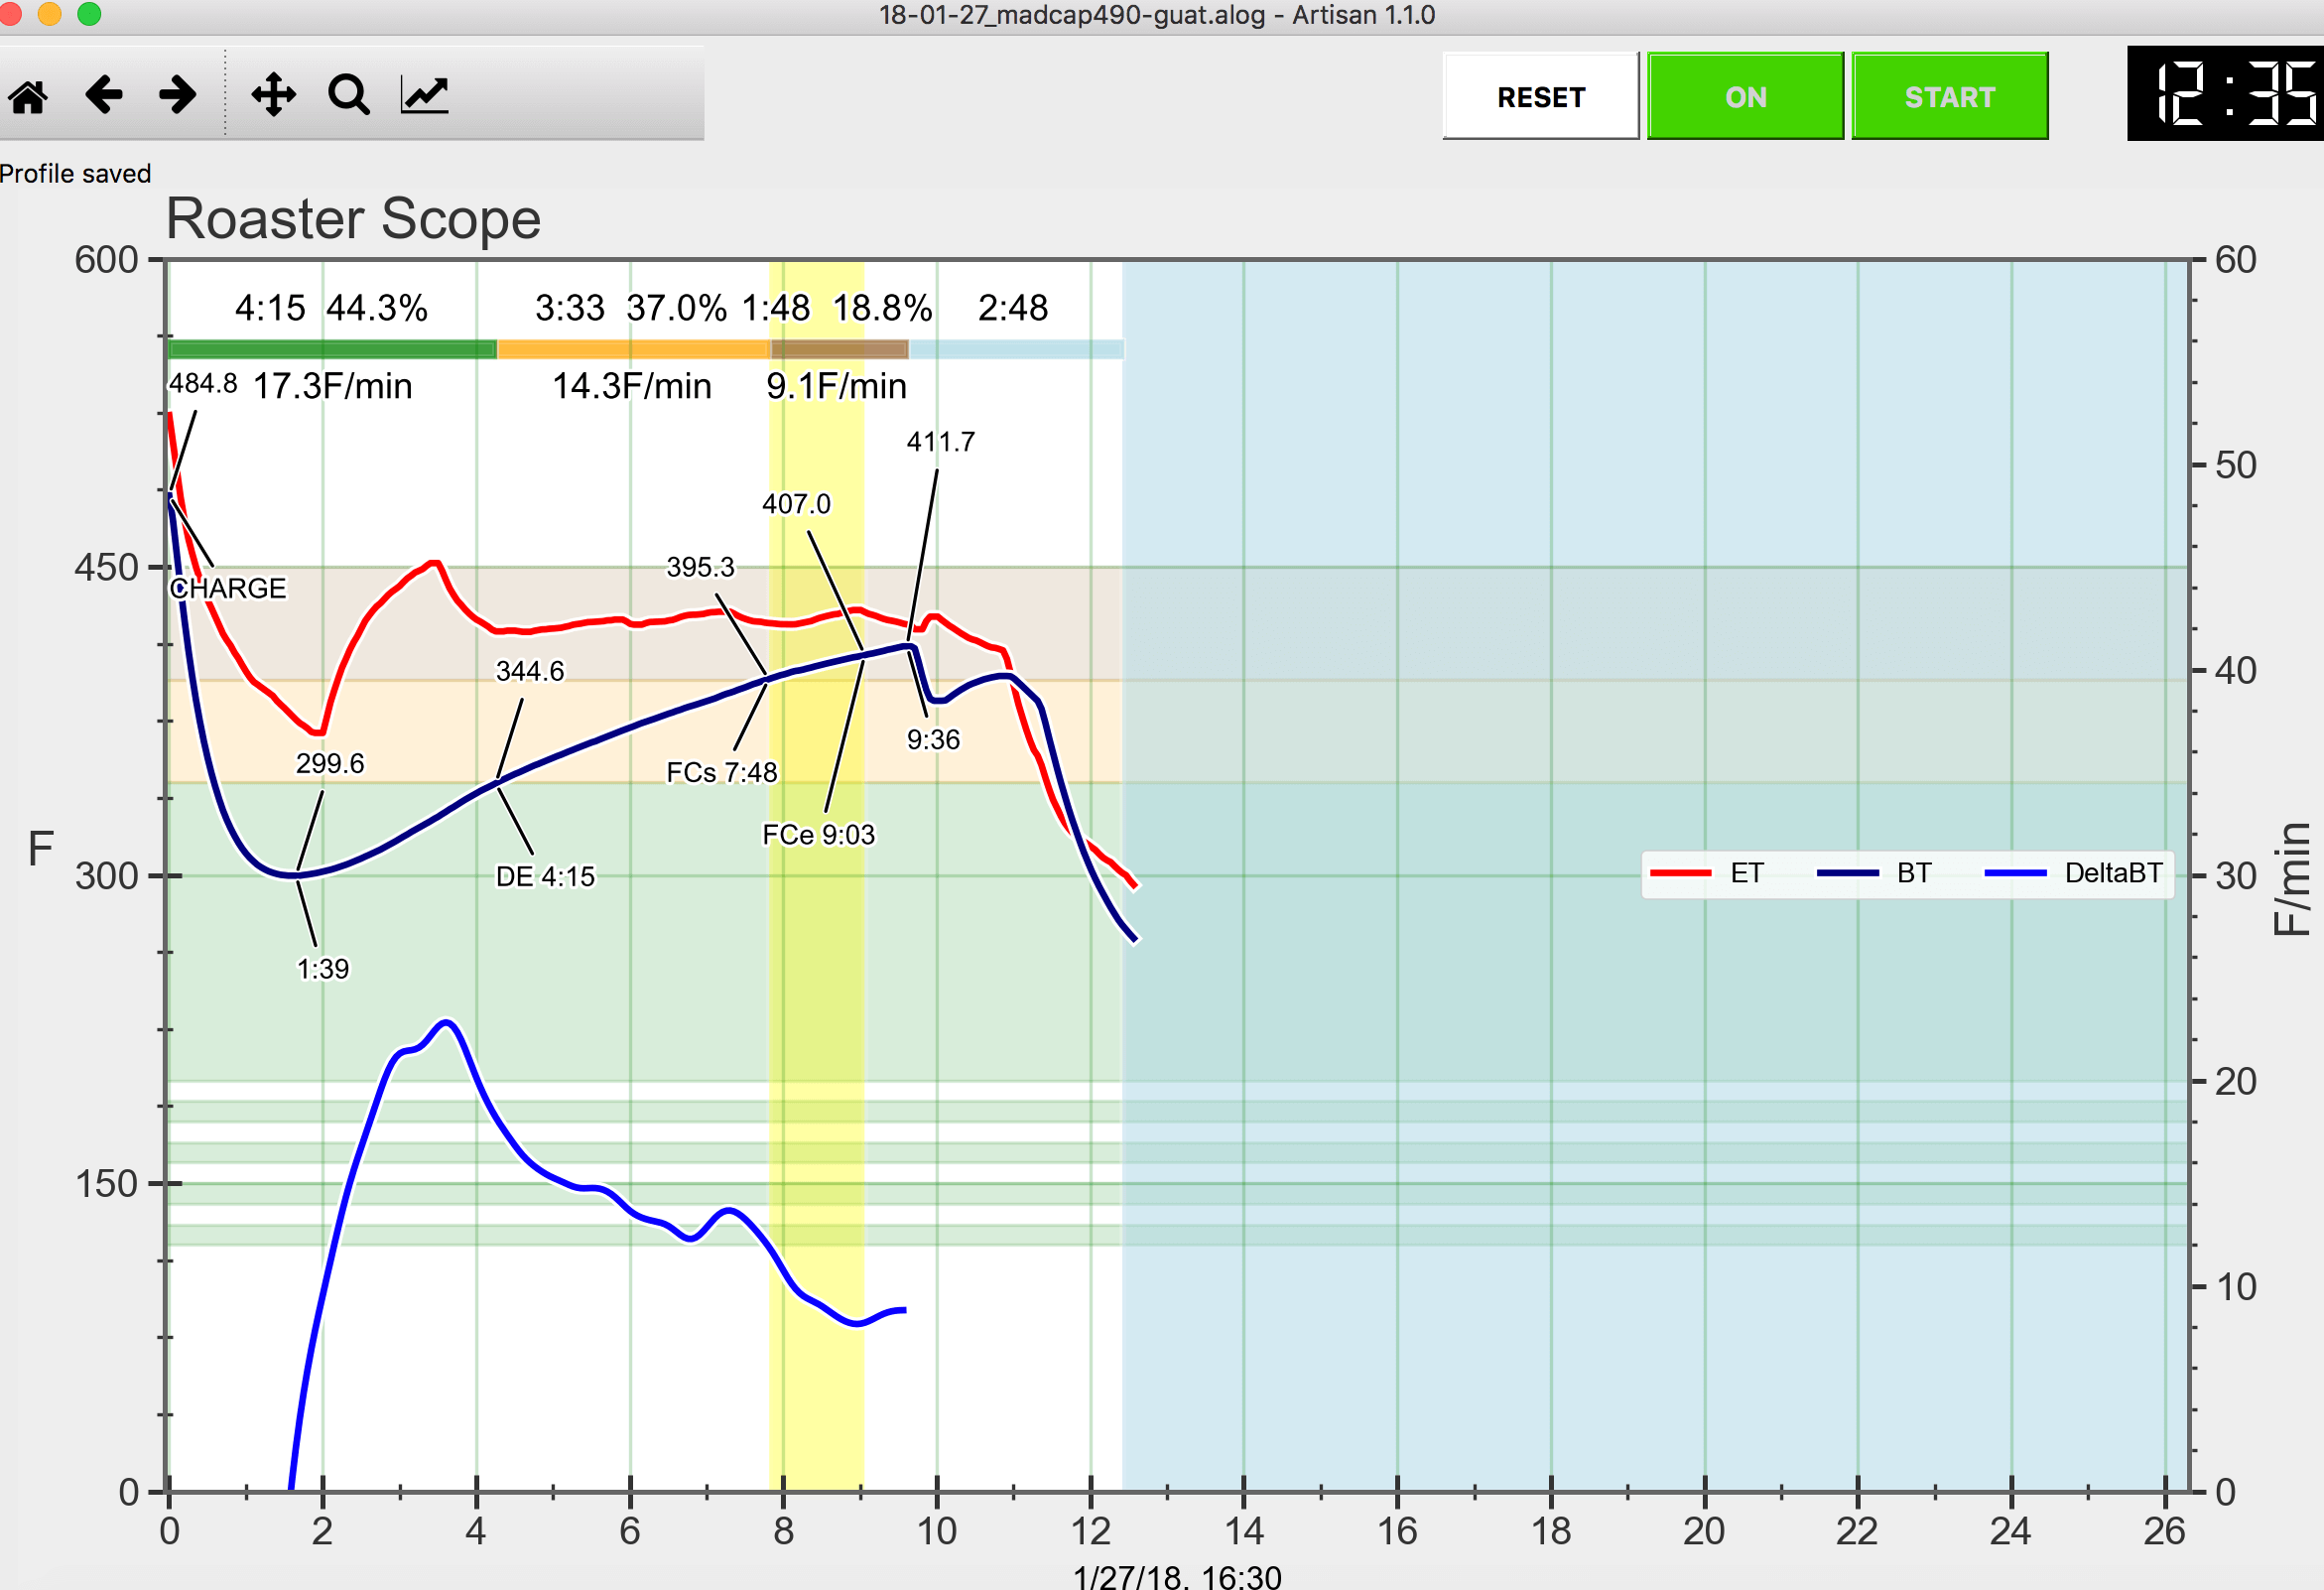
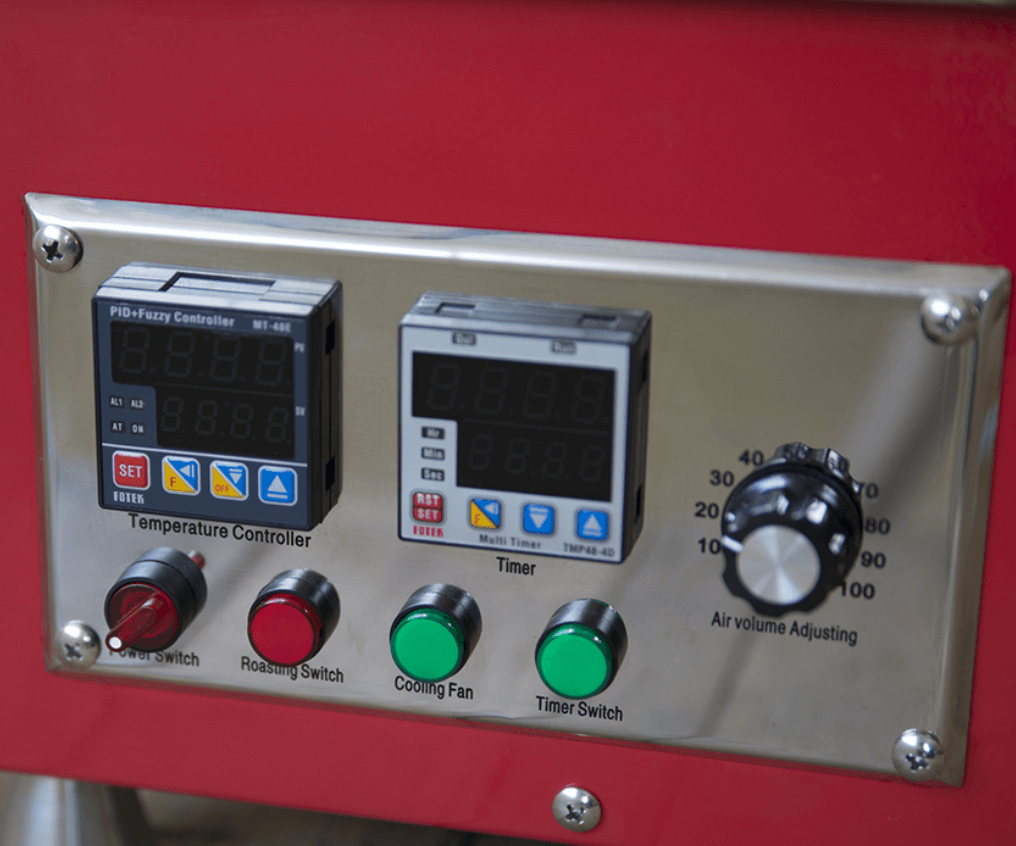
Now that my gas was connected and I had power, I programmed the safety features into the electronic panel per the instructions that came with the unit and then downloaded and installed Artisan. This free software graphically displays all of the temperature behavior of my roaster. Bean temp, exhaust temp and rate of rise are all tracked. The installation was simple.
Seasoning Roasts
Mill City Roasters recommends I season the drum. Similar to seasoning a cast iron skillet, the instructions direct me to allow the beans to hit second crack before dropping them. This allows the beans to absorb any manufacturing oils while leaving coffee oils in the drum to season it. 6 seasoning roasts are performed to season the drum. This process was a perfect opportunity to dial in Artisan and begin to see how my roaster behaves to different temperature inputs. I had purchased 20 lbs of seasoning greens (cheap coffee) so I wasn’t using my “good stuff”.
Highly Recommended
So far the roaster and service experience have been great. I have roasted over 100 lbs of coffee. The Mill City videos have been a wonderful resource as I begin to learn how to roast coffee like the professionals. More to come. Share your comments!