Like any hobby, there is a natural progression that takes place. We gather information, read articles, watch videos and learn more about our hobby. Over the past few years, I have been learning about home coffee roasting, including coffee varieties and roasting methods. Along this progressive path, I began to roast my own coffee beans at home.
Home Coffee Roasting First Steps
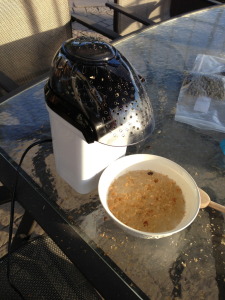
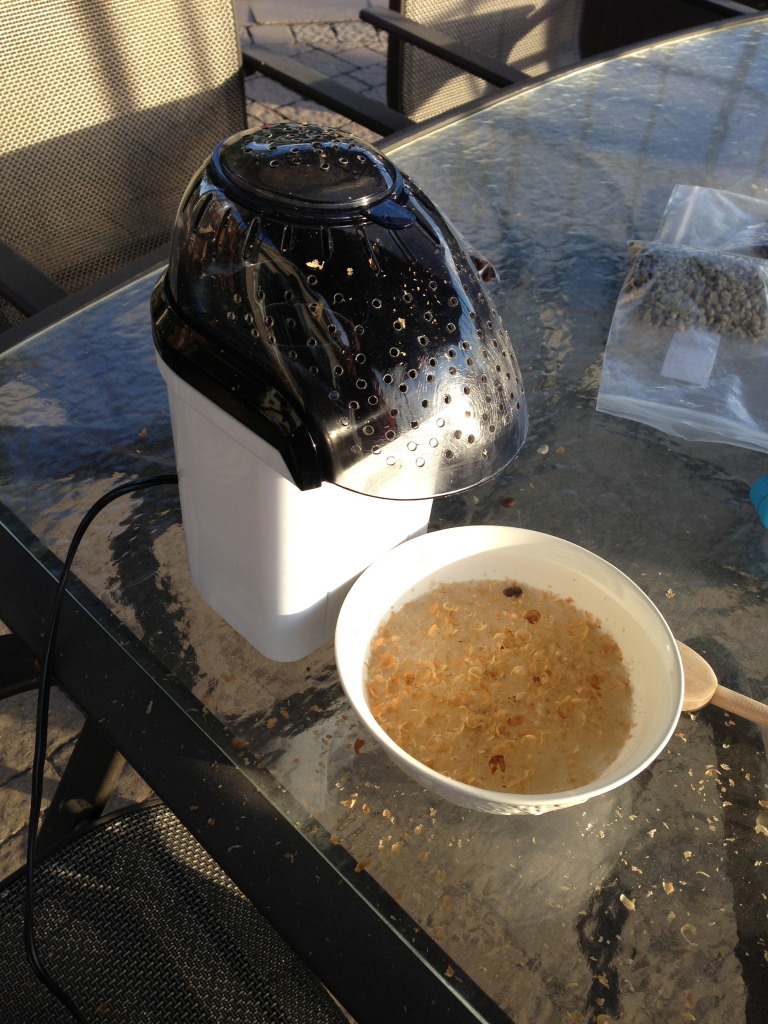
First I tried the hot air popcorn popper method. I went to my local Walgreens and picked up my hot air popper. Then I purchased green coffee beans from sweetmarias.com. Then I put about 4 tablespoons of green beans into the popper and turn it on. The hot air popper was a great way to start out because I could visually see the entire roasting process right before my eyes. But, I quickly realized the problems associated with this method (see below) and began to search for my next step in home coffee roasting.
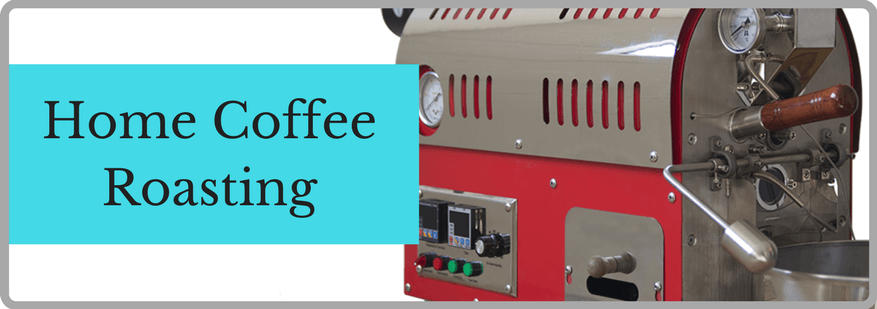
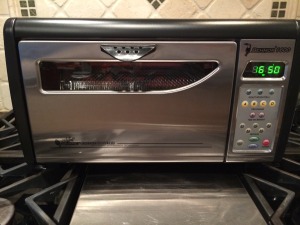
After a few months of hot air roasting, I purchased the Behmore 1600 (see my review here) and eventually upgraded it to the “Plus” version with the advanced control panel. Not only could I roast more coffee (8 ounces per roast), but I also had more control of temperature, drum speed and more. After 2 years of enjoyable roasting with the Behmore 1600, and many hours of testing, and researching all about the home coffee roasting process, I found I needed more flexibility and features to produce a “better” cup. My next step in roasting is a commercial “Lab” coffee roaster.
So, what brought me to this decision? Ultimately I realized that I needed at least 4 features in a coffee roaster that the popcorn popper and Behmore could not supply.
- Controllable Energy
- Visual Inspection
- Air Flow
- Adjustable drum speed
I’ve listed the limitations of both the popper and Behmore:

Popcorn Popper
- No real temperature control – Instant on and you are at the mercy of the popper
- Roasting volume is very limited – 30 grams of coffee is the max you can roast.
- No ability to produce a consistent roast – There is no way to reproduce the roast profile because there are no controls
- No ability to influence airflow – It uses hot air to roast. You can’t increase or lower the level of air or heat.
- Messy – Chaff blows everywhere, even with the bowl method.
 Behmore 1600
- Messy – Requires clean up after every roast
- No ability to cool/stop roast process quickly – At the end of your roast, the cooling method can take several minutes, allowing your roast to continue.
- Not enough (energy) heat produced – The quartz rods can make things hot but an electric fan kicks in, slowing the ability to heat up to optimal temps.
- Roasting capacity is limited to 1 pound – More realistically 7 ounces or else the roast will be uneven.
- Viewing coffee color is difficult – Yellow inside light doesn’t really help. There is no “trier” to view and smell coffee.
- Temperature probe’s not accurate – First crack is taking place at 280 degrees? That is what the roaster indicates.
- Difficult to clean – Thorough cleaning of roaster unit involves partial dis-assemble of roaster.
As a result, the next step is to find the best “Lab” roaster for my specific needs. I will be looking for features that will allow me to roast using profiles, make airflow and temperature changes, inspect the coffee and be a good quality product. Since there are many options and my choice will most likely be expensive, study & research will continue. Because I am sharing my journey, links to resources will be included.
Share your thoughts or tell me what your roasting coffee with.
Stay tuned!


