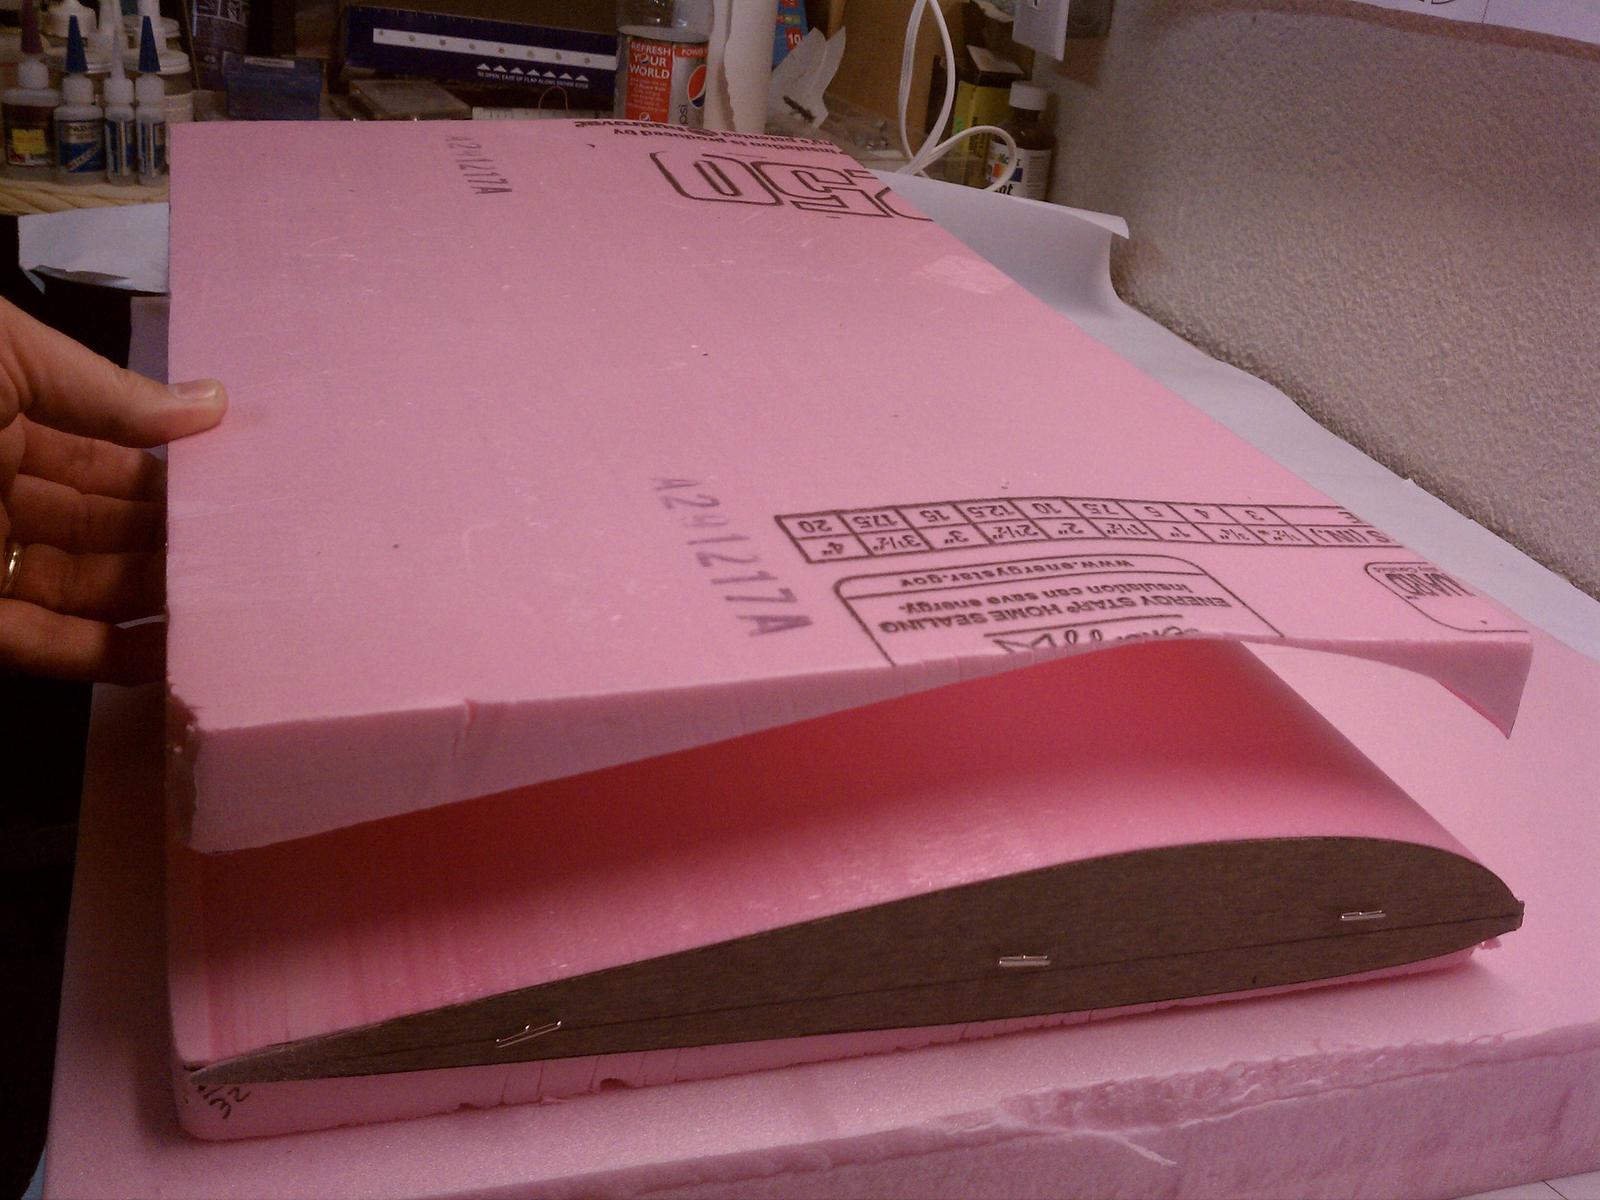
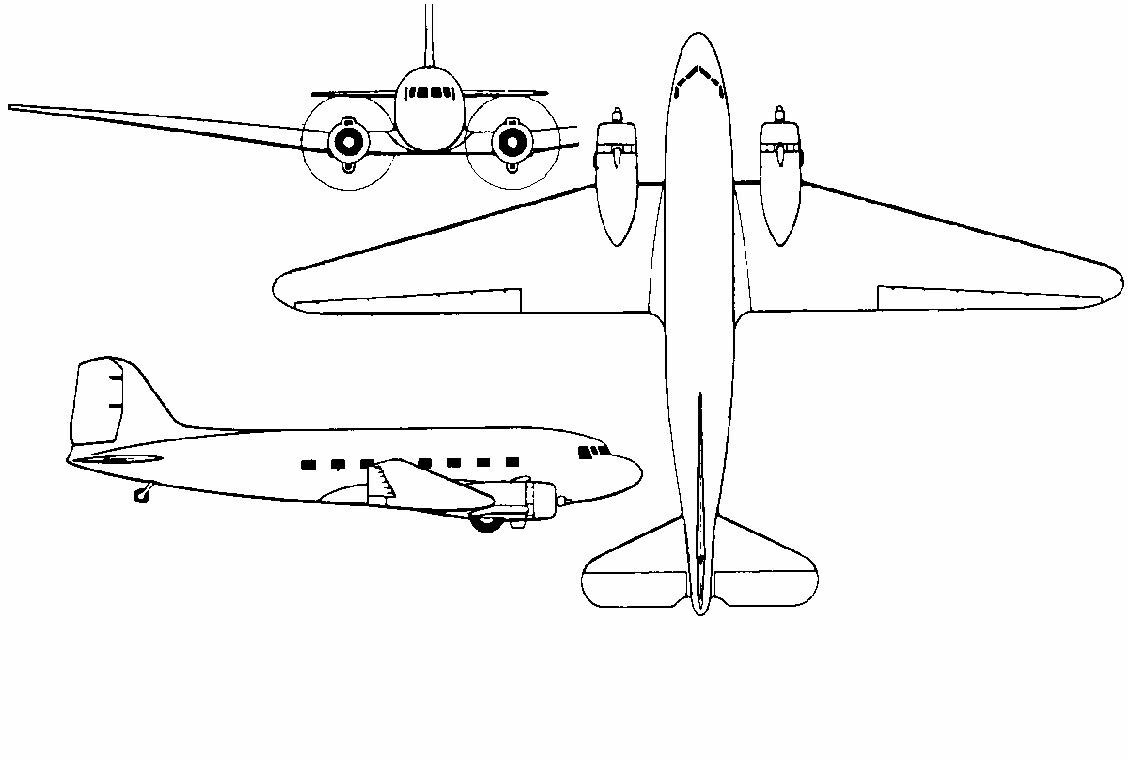
 It has been a while since I posted anything on my Douglas DC-3 progress. The foam fuselage has been completely assembled and the two main halves have been joined together. After more sanding it was fiberglassed using 1 ounce cloth. More sanding and then a nice light coat of water-based primer was applied. Lacquer paint eats the pink foam so I needed to get the water-based stuff on first. When ready, I will use a high build primer to get the fuselage as flat as possible to prepare for paint. Before I do any of that I will have to work on the wing fillets to the fuselage and the engine nacelles.
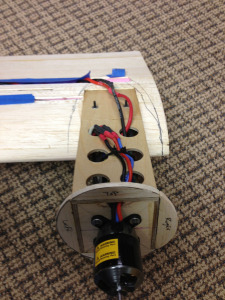
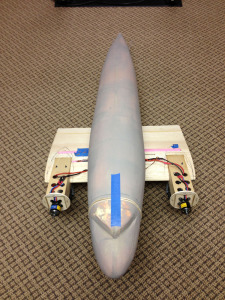
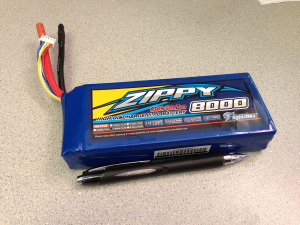
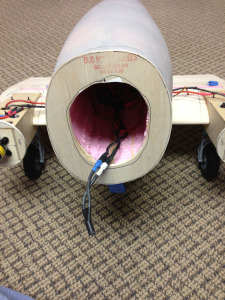 You will notice in the pictures that I cut off the nose of the plane as this will be accessed for battery charging. I have a Zippy 30C 8000 4 cell lithium polymer battery that will power the electric twin motors. The picture included in this post shows a roller-gel pen next to the battery so you can see the size. I will be making a battery tray to lay inside the forward area of the fuselage where you see the wires hanging out. The nose will be secured during flight with magnets and alignment will be helped with dowel pins.
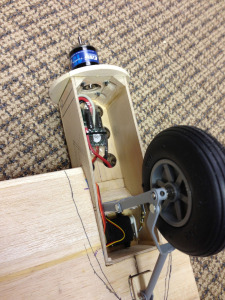
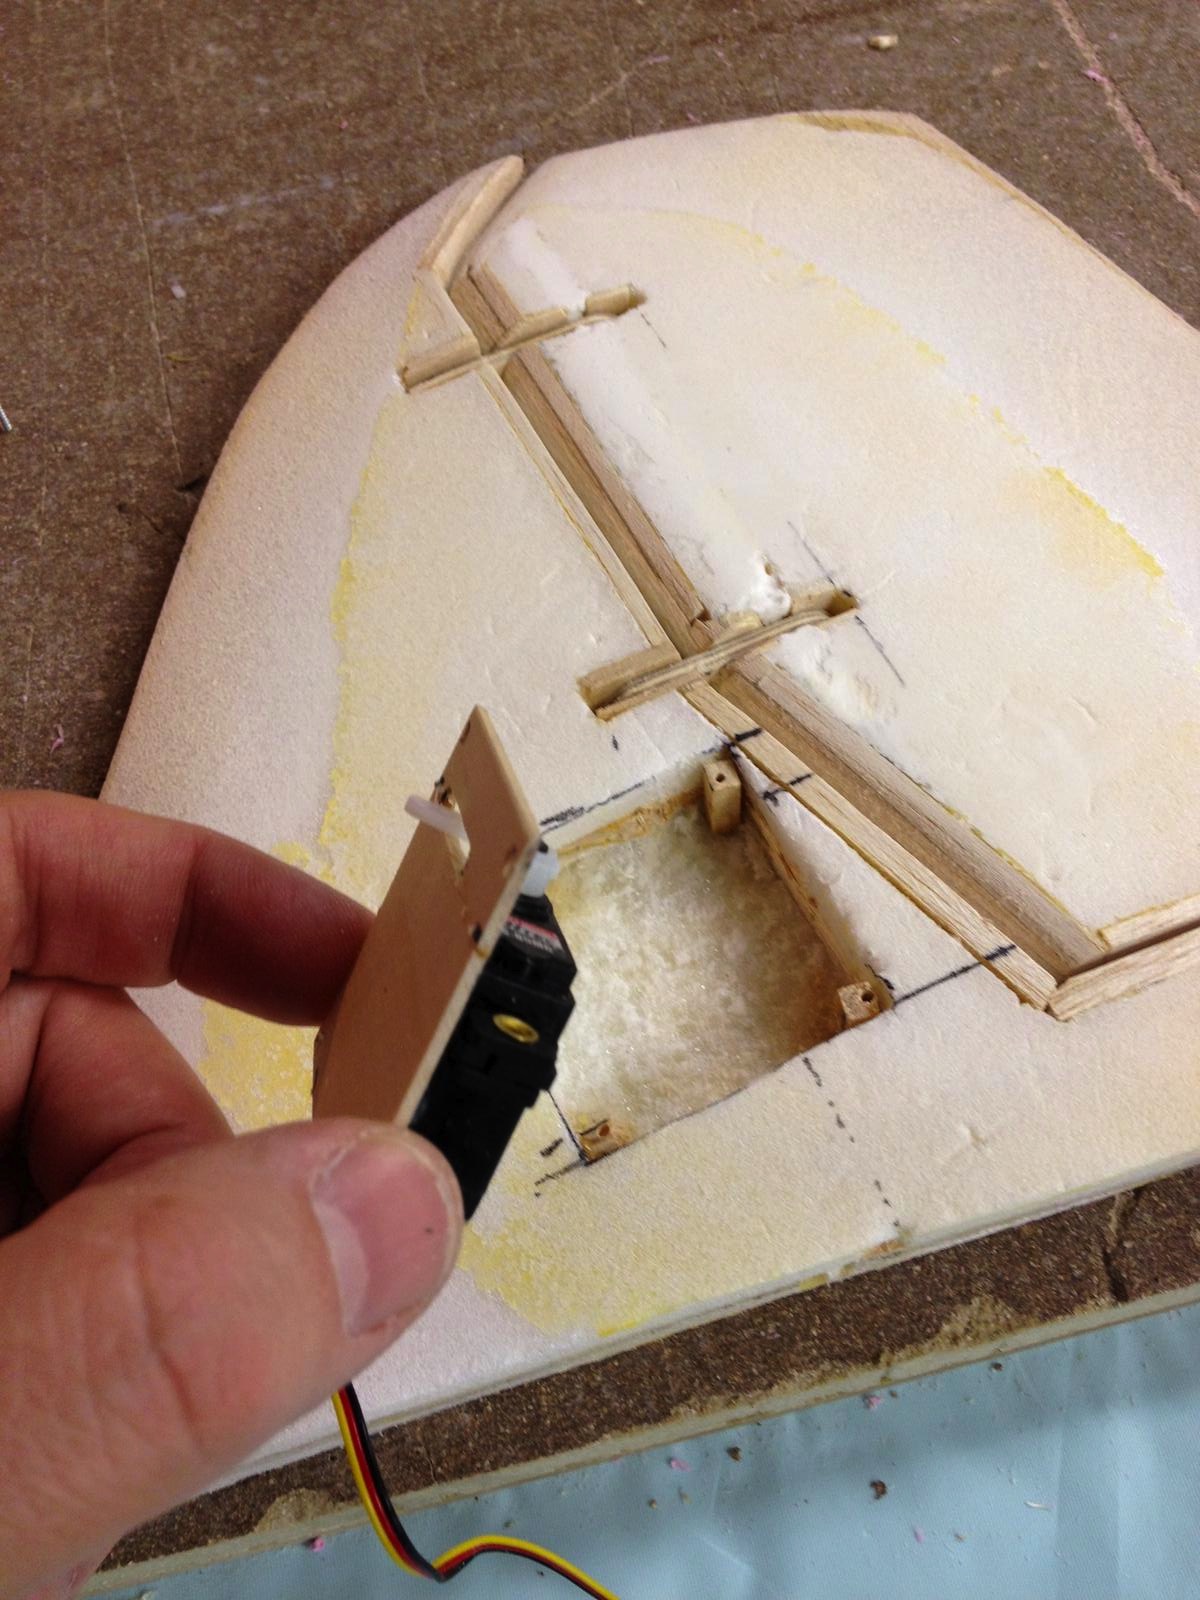
The wing center section is a beast. It is mechanically complete but it needs to be cleaned up and the wires need to be buried . The engine nacelle framework house the speed control for each engine, retractable landing gear and servo to operate the gear. It is crowded but it fits! Progress on the engine nacelle covers will happen in the next month or two. Once that is complete, final assembly and paint will finish her up so she will be ready to fly.